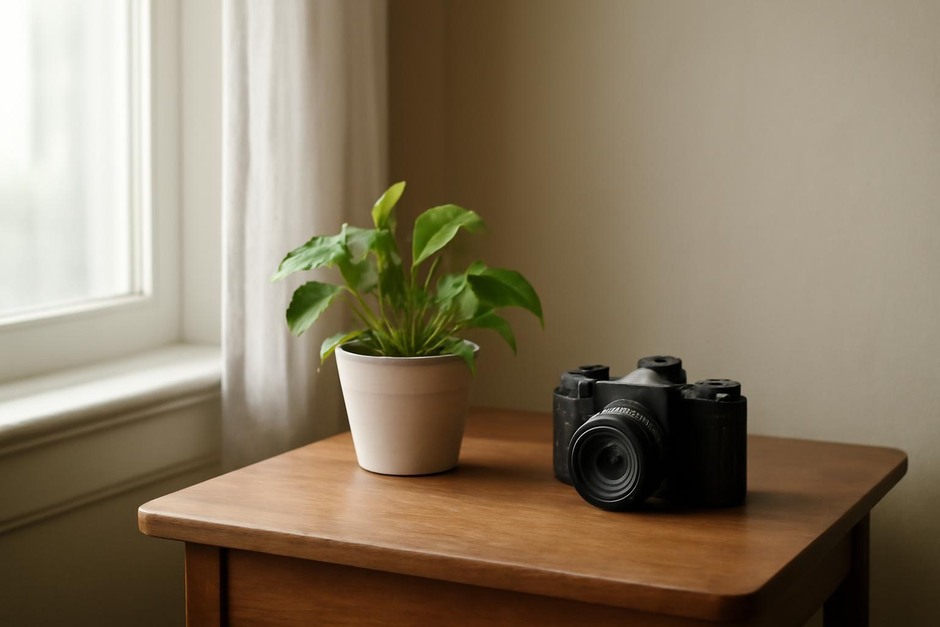
Quiet Light: A Field Guide to Using Soft Window Light in Home Photography
Problem
Many home photographs look either too flat or too contrasty, with blown highlights at the window and muddy shadows in the corner. Even when you have a calm scene — a chair, a cup, a plant — the picture can fail to convey the quiet quality of the light you remember. The real difficulty isn’t gear; it’s that we treat light as something to react to instead of something to observe and shape.
Principles
1. Start by watching, not shooting
Spend two minutes at the window before lifting the camera. Note the direction (side, back, front), the size of the source (small bright patch vs. whole window), and the hardness (sharp shadows vs. soft gradation). The answers will guide exposure, positioning, and support tools.
2. Think in layers
Good interior light builds depth. Identify three layers: the brightest highlights (often the window or reflections), the midtones where most subjects sit, and the shadow areas. Aim to keep detail in two layers and allow one to be more subdued — typically the shadows — to preserve mood without losing texture.
3. Mind color and temperature
Window light changes color through the day and through glass. North light is cool and steady; late-afternoon west light is warm and directional; overcast light is neutral but flat. Match your white balance or embrace small casts as a compositional tool rather than a flaw.
4. Control contrast with simple tools
Avoid overcomplicating control. A white foam core as a reflector adds fill; a dark card reduces bounce and deepens shadows; a thin curtain diffuses hard sunlight. These inexpensive adjustments let you keep highlights and open shadows in a single exposure more often than bracketing alone.
5. Compose with distance and angle
Moving the camera a step left, right, closer, or farther will change how the window reads in the frame and how the light falls on shapes. Side light emphasizes texture; backlight isolates edges; front light flattens. Let the subject and mood determine which you choose.
Examples
Example 1: Morning north-facing living room — quiet portrait
- Observe: Soft, cool light across the sofa; little direct sun, gentle shadow edges.
- Approach: Place subject three-quarters to the window for modeled cheek highlights. Use a reflector opposite the face at knee height to lift under-eye shadows slightly. Set camera to a moderate aperture (f/2.8–f/5.6) for separation and keep shutter fast enough for the pose.
- Why it works: The broad, soft source sculpts form without harsh contrast; the reflector preserves shadow detail and reads as natural fill.
Example 2: Late-afternoon west window — still life with drama
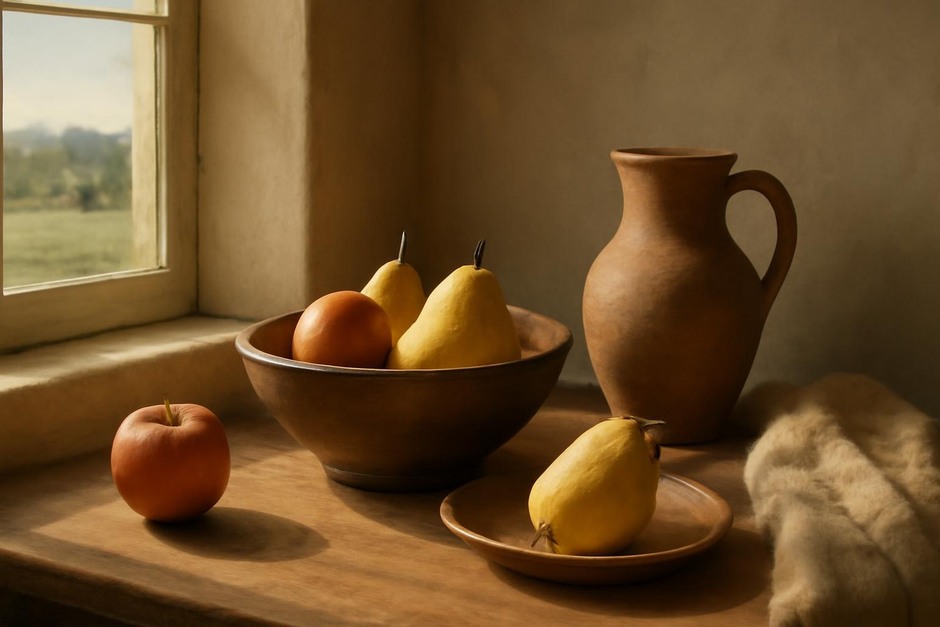
- Observe: Warm, directional beams with pronounced shadows; small highlights on glass surfaces.
- Approach: Use a thin white diffuser to soften the hardest edges while keeping direction. Position the subject so the light grazes texture (wood grain, fabric). Add a black card to subtract unwanted bounce on the shadow side rather than adding fill.
- Why it works: You keep the warm character that makes the scene feel late-afternoon while preventing blown highlights and preserving texture in the shadows.
Example 3: Overcast midday — flat yet forgiving table arrangement
- Observe: Even, low-contrast illumination that flattens form.
- Approach: Create a single stronger direction with a small reflector angled to one side, or bring in a lamp behind the camera to add a hairlight on the rim. Increase aperture slightly for sharper overall detail if you want clarity; lower it for dreamy separation.
- Why it works: Overcast light is forgiving for exposure but needs a directional cue to suggest depth. Small additions define planes without fighting the soft ambient light.
Practice Checklist
- Observe (2 minutes): Note direction, size, hardness, and color of the window light before composing.
- Decide mood: Choose whether you want sculpted form (side/back light), calm flatness (front/overcast), or edge separation (hair/backlight).
- Adjust position: Move camera and subject in small steps to change how the window shapes form.
- Control contrast: Use a white reflector for fill, a black card for negative fill, or a diffuser for hard sun.
- Set exposure: Preserve highlights; expose for midtones and let shadows fall into the third layer when needed.
- Check color: Set white balance for the mood or shoot RAW to adjust later while noting the initial cast.
- Refine: Make one tiny change — move the reflector, change angle, or adjust aperture — and reshoot to learn the effect.
Quiet window light rewards patience and small adjustments. With steady observation and a couple of simple tools, the everyday corners of a home become consistent places to practice photographic judgment.