Five-Step Studio Window Setup for Quiet Still-Life Photography
The question I keep returning to
What can I reliably make look intentional with the smallest possible setup? I wanted a short, repeatable method for still-life photos that uses only a window, a table, and household objects. The goal: calm, clear images with minimal fuss so I can shoot more often and learn faster.
Step-by-step method
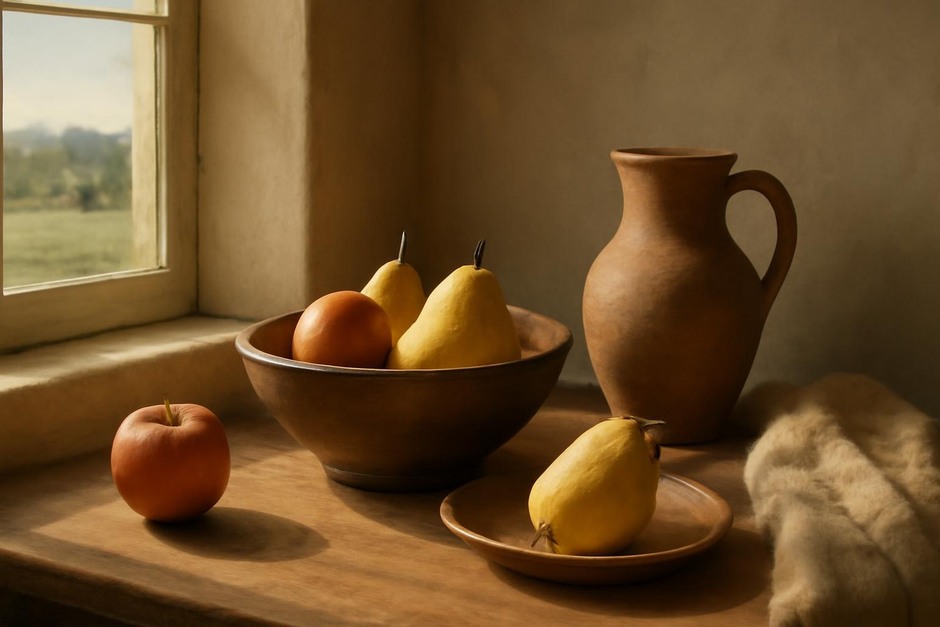
- Choose the right window and time. Look for a north- or east-facing window for softer, less contrasty light most of the day. Late morning or late afternoon often gives a pleasing angle if you only have a south-facing window—aim for light that grazes the subject rather than blasting it.
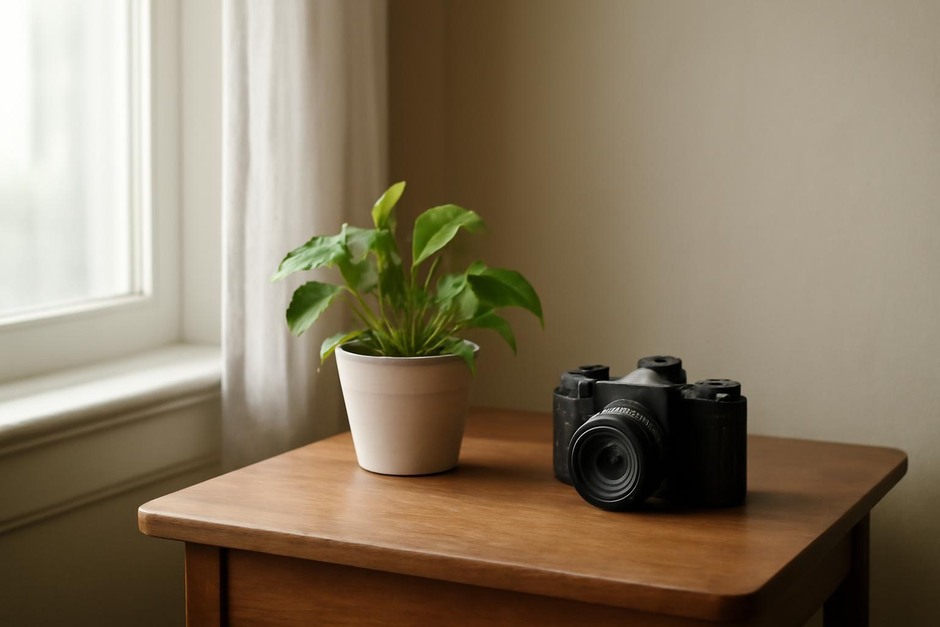
- Set a short, steady footprint. Place a small table or a stack of books 6–24 inches from the window depending on how much background you want. Keep the area clear of clutter so you can move quickly between compositions.
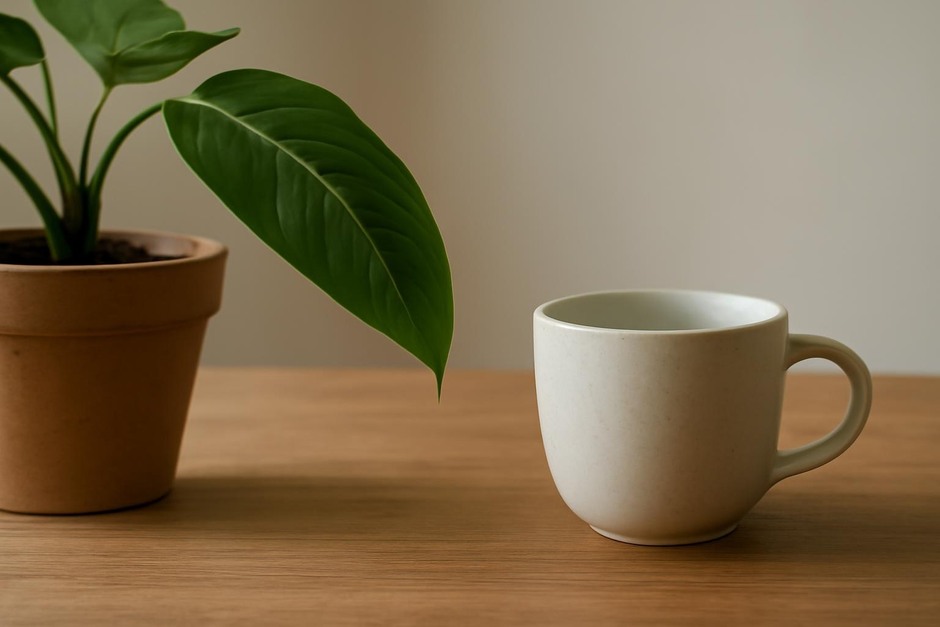
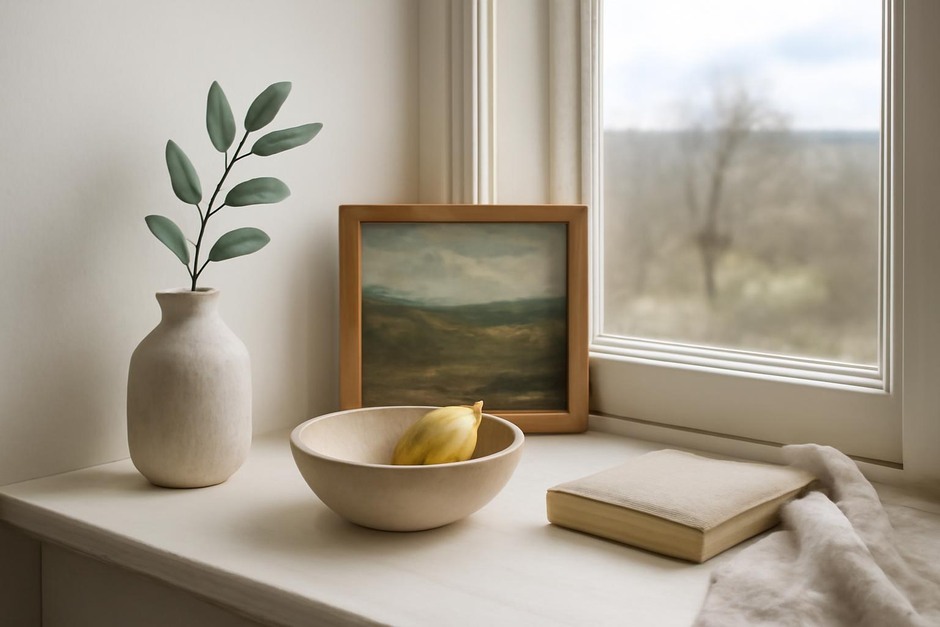
- Pick two or three objects. Use items with distinct shapes and textures—think a ceramic cup, a folded linen, and a small plant or fruit. Arrange them so their edges overlap slightly but each keeps its identity. The goal is a simple hierarchy: primary subject, secondary support, and a small accent.
- Control the light with simple modifiers. Use a white sheet or foam board as a reflector opposite the window to fill shadows. For softer light, hang a thin curtain or a translucent shower curtain in front of the window. For harder shadows, remove the curtain and move the setup slightly closer to the window.
- Compose, meter, and lock settings. Compose at eye level for a quiet still-life feel or slightly above for a tabletop look. Meter for the midtones (the cup or linen) and expose to preserve texture—slightly underexpose to keep highlights from blowing out if you have bright window reflections. Use a tripod or rest the camera on a stable surface and, if possible, shoot at a modest aperture (f/5.6–f/11) for control over depth of field.
Review and quick notes
After several runs I kept three small rules: simplify objects, simplify placement, and simplify decisions about light. If the composition feels cluttered, remove one item. If the light is feeling flat, add a reflector or move the setup to capture a side angle. The method above is purposely minimal so you can repeat it and refine mood across multiple sessions.
Variations
- Tonal variation: Swap in darker or glossier objects to increase contrast. A dark wooden bowl next to porcelain will change the image’s weight without altering the setup.
- Color study: Limit the palette to two hues plus neutrals. For example, pair a blue mug and a yellow lemon on a gray linen to practice color relationships.
- High-key and low-key: For high-key, use a white backdrop (paper or foam board) and strong reflector to push shadows up. For low-key, bring in a black card to block fill light and emphasize shape and texture.
- Motion element: Introduce a small gesture—pouring water, a falling petal—using a faster shutter speed and a burst mode to catch the moment while keeping the rest of the method identical.
- Macro approach: Move closer with a longer focal length or extension tubes; keep the same light but open the aperture for a shallower depth of field and intimate detail shots.
Troubleshooting
- Harsh highlights on reflective surfaces: Tilt reflective items slightly away from the window to deflect direct reflections, or add a small diffuser (folded baking parchment or thin white fabric) between the window and subject.
- Flat, boring light: Add a directional element—move the setup so the light hits the scene from a 30–60° angle. Introduce one small hard shadow (a narrow card) to give depth.
- Objects read as disconnected: Increase overlap and shared lines between objects. Slightly rotate items so their contours point toward the primary subject to unify the composition.
- Camera shake at low light: Raise ISO modestly before sacrificing shutter stability, or use a remote or timer to avoid touch-induced blur.
- Background distractions: Move the scene closer to the window for a narrower field of view, or place a neutral board behind the subjects to simplify the backdrop.
Keep this method as a quick checklist in your studio notebook: window, table, three objects, simple modifiers, and one decision about exposure. The point is not perfection on the first pass but repeated practice—each short session teaches you one more small, useful thing about light, shape, and restraint.